Test Observability & Engineering effectiveness
“Engineering Effectiveness” has been a central topic of discussion and focus this year

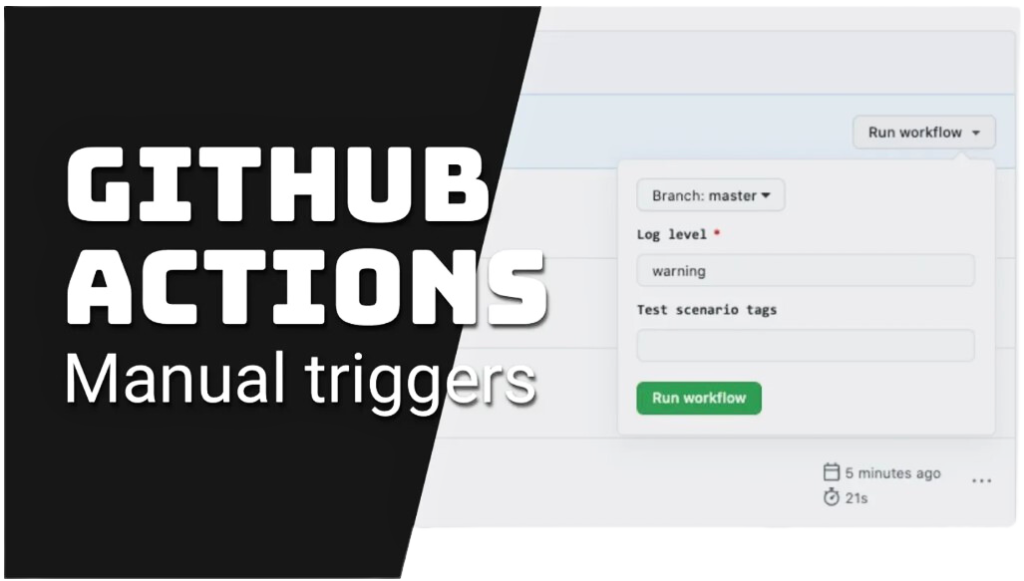
Triggering GitHub Workflow Manually
Imagine,
So, in the above scenario, it is very important to run the test cases & get the results as early as possible.
One way could be doing all the development and pushing the branch to the master, In that case, the workflow will be triggered and results will be published but imagine in the result you see a lot of failures.
Another way could be to run all the test cases manually.
Hence, to avoid all the issues stated above there is a need to have a capability through which you can run the workflow test cases as and when required.
Sounds interesting?? Let us now get into action & see how we can do this.
To understand this, we will take the example of the same workflow that we had created in the previous blog.
We just have to add the below lines of code to the YAML file.
					name: webdriverio-ci
on:
  workflow_dispatch:
    inputs:
      environment:
        description: 'Environment to run tests against'
        type: choice
        required: true
        options:
        - staging
        - prod
workflow_dispatch: This is an event in GitHub Actions that takes care of running the workflow manually.
inputs: workflow_dispatch also gives an option to take the input at run time that can be used to set the environment before triggering workflow.
environment: This is just an input variable name.
description: Brief detail about the input field.
type: What type of parameter do you want to pass. It can be String, choice, boolean, etc.
required: If set to True. It will mark the field as mandatory and will show it with red * mark
options: Since we are using type as a choice, We need to give options that will be shown in the dropdown.
Note: There are a lot more input parameters available. You can check this link.
After we add the above code, The YAML file will look like this
					# This workflow will do a clean installation of node dependencies, cache/restore them, build the source code and run tests across different versions of node
# For more information see: https://help.github.com/actions/language-and-framework-guides/using-nodejs-with-github-actions
name: webdriverio-ci
on:
  workflow_dispatch:
    inputs:
      environment:
        description: 'Environment to run tests against'
        type: choice
        required: true
        options:
        - staging
        - prod
  push:
    branches: [ master ]
  pull_request:
    branches: [ master ]
jobs:
  test:
runs-on: ubuntu-latest

    steps:
        - name: Checkout
          uses: actions/checkout@v2
        - uses: actions/setup-node@v1
          with:
            node-version: 16.3.0
        - name: Install
          run: npm install
        - name: Running Test
          run: BROWSERSTACK_USERNAME=${{secrets.BROWSERSTACK_USERNAME}} BROWSERSTACK_ACCESS_KEY=${{secrets.BROWSERSTACK_ACCESS_KEY}} npm run test --env ${{ inputs.environment }}
        - uses: actions/upload-artifact@v1
          if: failure()
          with:
            name: logs
            path: logs
Since we are getting the input values at run time, let’s say we want to use these values. How can we get them? We simply have to call them with the below command.
${{ inputs. }}
For example, let’s take the YAML file above and peek into the run command — we are passing an environment variable that we had passed as an input.
run: BROWSERSTACK_USERNAME=${{secrets.BROWSERSTACK_USERNAME}} BROWSERSTACK_ACCESS_KEY=${{secrets.BROWSERSTACK_ACCESS_KEY}} npm run test --env ${{ inputs.environment }}
That’s it. We are done. Now you will be able to see the Run Workflow option under the Actions page.
Now when you click on the Run workflow button you will be able to see the input options that you have added and you will be able to run the workflow manually.

Hope the blog helped you understand how to trigger GitHub workflow manually.

“Engineering Effectiveness” has been a central topic of discussion and focus this year

With us, you’re not just a part of a company; you’re part of a movement dedicated to pushing boundaries, breaking barriers, and achieving the extraordinary.

Otaku 2.0 sought to redefine the way we approach testing, celebrate the spirit of innovation, and pave the way for a brighter future in tech.