TestVagrant

Flutter Integration Tests: A Comprehensive Guide to Test Reporting

Flutter Integration Tests: A Comprehensive Guide to Test Reporting

Article

Flutter Integration Tests: A Comprehensive Guide to Test Reporting

In our previous blog post, we successfully automate and execute an end-to-end test. We ran our test with the below command:

				
					flutter test integration_test/tests/create_todo_test.dart


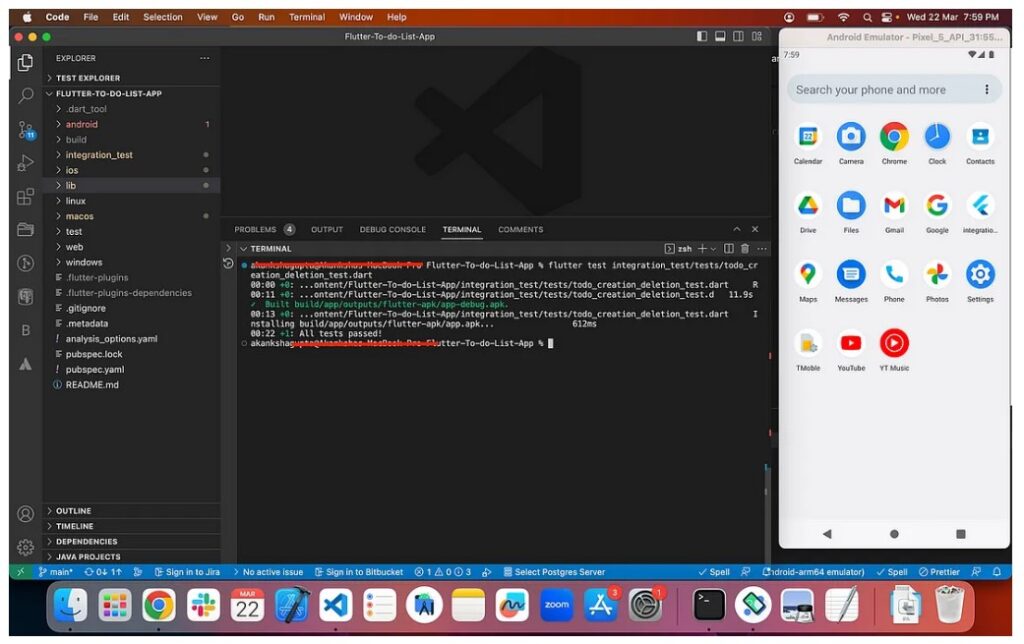
The result of the test gets printed on the console as shown in the below screenshot. This console message is trivial and has minimum information for the test developer. Whether the test passed or failed.

Flutter Integration Test Result

In this blog, we will explore the various reporting options available. As we grow the number of integration tests, a suffocated reporting mechanism is a must to understand and debug the test failures.

In the previous blog post, we were directly running our command on the terminal. However, to integrate reporting, we will create a “runner.sh” file that contains our test execution commands with reporting, and then execute “runner.sh” .

There are multiple reporting options available for Flutter Dart, including

  • Dot Dart Report,
  • JUNIT XML Report,
  • HTML report with Android Gradle, and
  • Detailed Reporting with Firebase Test Lab Integration.

1. Dot Dart Report :

Dot Dart reports are available with the package named dart_dot_reporter available at https://pub.dev/packages/dart_dot_reporter.

By activating the dot dart report, we can save the test execution result data in the testResults.log file. With the help of the dot dart package, we can retrieve and display a summary of the passed and failed test cases.

To obtain detailed information on the causes of the failures, you would have to refer to the testResults.log file. Our runner.sh file will resemble the following code snippet –

				
					flutter pub global activate dart_dot_reporter
flutter test --machine integration_test/tests/create_todo_test.dart > testResults.log
dart_dot_reporter testResults.log


The output would look like this –

Pros:

  • Easy to integrate
  • Provides a compact summary with a one-liner detail for each failed and skipped test.

Cons:

  • Hard to read the details of the failure as all the output is dumped to a single file or in the console.
  • The report not being HTML, hard to read the output and consume it effortlessly.
  • Historical results can not be saved.

2. Junit XML Report :

The primary benefit of using JUnit XML reports instead of Dot Dart is that JUnit XML files can be uploaded to GitHub or similar platforms, allowing for the results to be displayed in HTML format and maintaining a history of test cases when integrated with version control systems or Jenkins.

To achieve this, the package “https://pub.dev/packages/junitreport” can be used. Results can be stored in a log file similar to how it is done with Dot Dart, and by enabling the JUnit report feature, the log file can be used to generate JUnit XML reports.

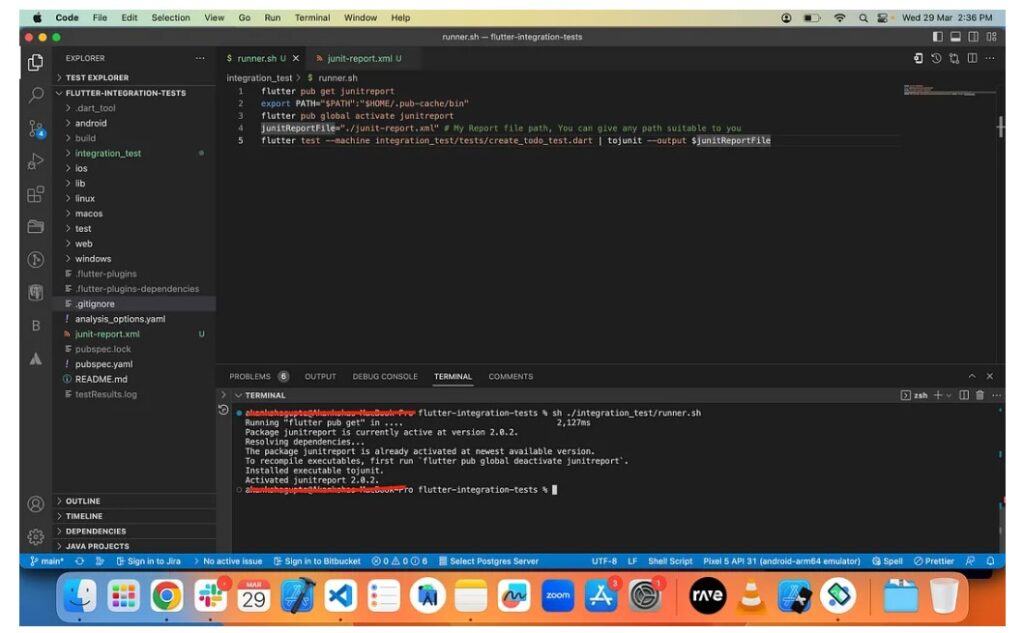
Our runner.sh file will resemble the following code snippet –

				
					flutter pub get junitreport
export PATH="$PATH":"$HOME/.pub-cache/bin"
flutter pub global activate junitreport 
junitReportFile="./junit-report.xml" # My Report file path, You can give any path suitable to you
flutter test --machine integration_test/tests/create_todo_test.dart | tojunit --output $junitReportFile


After execution, a file named “junit-report.xml” will be generated in the root directory of your code, containing details of the test cases, including reasons for failure.

Test execution output

If you’re interested in exporting the JUnit XML file in HTML format on Source Code Management, you can refer to this article for further guidance: https://medium.com/testvagrant/flutter-integration-test-junit-report-generation-with-gitlab-integration-cebf389e011e

On the other note, there are many tools and techniques available to generate HTML out of JUnit XML and you could choose the one that suits you the most.

Pros:

  • Easy to integrate
  • Generates JUnit XML that can be fed to other tools to generate HTML reports

Cons:

  • Hard to read the details of the failure as all the output is dumped to a single file or in the console.
  • The report not being HTML, hard to read the output and consume it effortlessly.
  • Historical results can not be saved.
  • Needs additional techniques and efforts to make it more meaningful

If you want to leverage the advantage of both dot dart and JUnit XML report, Yes we can combine both of them. Let’s update your runner.sh file with the –

				
					flutter pub get junitreport
export PATH="$PATH":"$HOME/.pub-cache/bin"
flutter pub global activate junitreport 
junitReportFile="./junit-report.xml" # My Report file path, You can give any path suitable to you

flutter pub global activate dart_dot_reporter
flutter test --machine integration_test/tests/create_todo_test.dart > testResults.log
dart_dot_reporter testResults.log
tojunit --input testResults.log --output $junitReportFile


3. HTML Report with Android Gradle

To run Flutter tests with Gradle, it’s necessary to set up Gradle with AndroidJUnitRunner. To do so, please refer to the setup guide available at https://github.com/flutter/flutter/tree/main/packages/integration_test#android-device-testing.

Our runner.sh file will look like this –

				
					pushd android
# flutter build generates files in android/ for building the app
flutter build apk
./gradlew app:assembleAndroidTest
./gradlew app:connectedAndroidTest -Ptarget=`pwd`/../integration_test/tests/create_todo_test.dart
popd


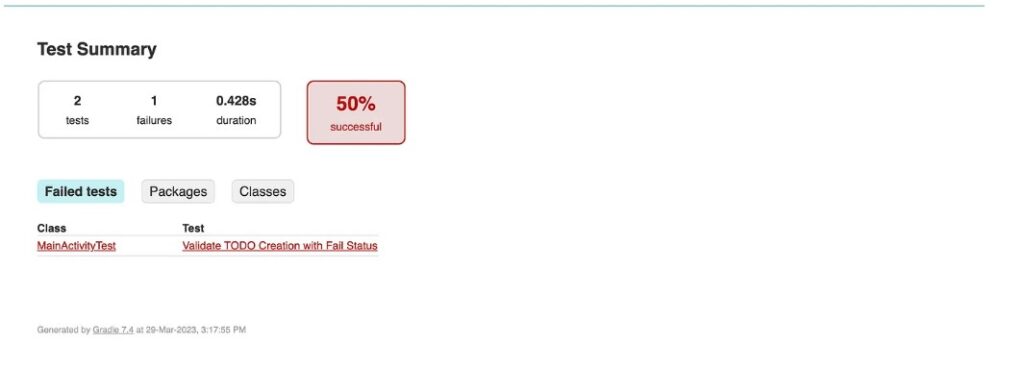
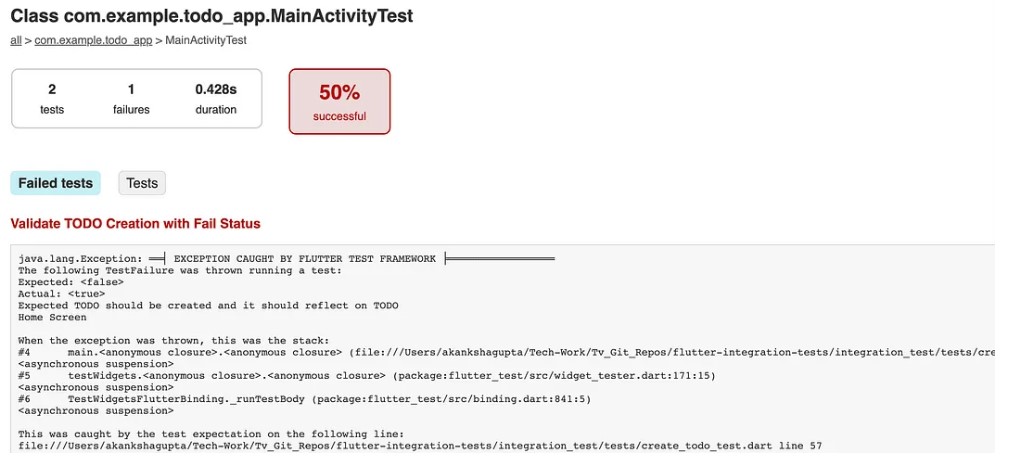
The report with HTML will be present inside –build/app/reports/androidTests/connected/index.html

Please note that this reporting technique is only for the Android platform.

Summary of Execution
Test Result and Log

Pros:

  • Easy to integrate
  • Generates HTML reports out of the box

Cons:

  • Historical results can not be saved.
  • Can’t use for platforms other than Android

Check out our next blog to learn how to execute these tests on Google Firebase Device Lab, thereby establishing a foundation for implementing Continuous Integration.

Other Related Articles

Share This Article

Scroll to Top